Drawing TutorialForm
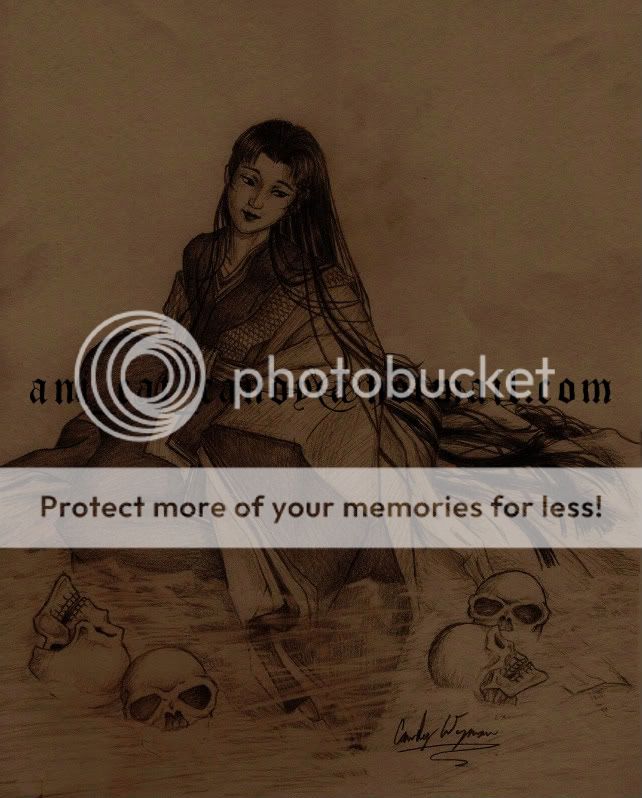
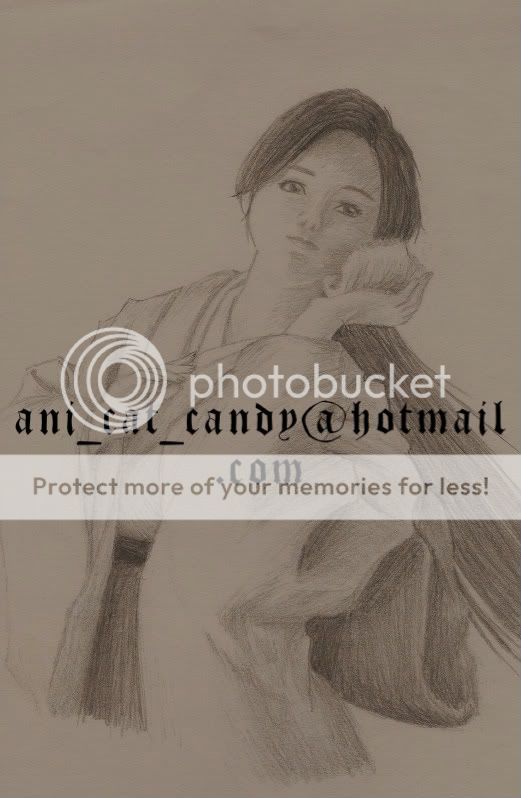
Drawing above done in pencil (dark isn't it?) from Halloween 08
A special note about the picture aboveThe water looks like the hardest part of the picture doesn't it? Nope! It was the easiest! All I did was drew the picture as though the water wasn't even there, but left it a bit lighter where pieces went under. Then I used my kneeded eraser and 'pulled' the highlights of the waves. Easy once you know the trick, ne?
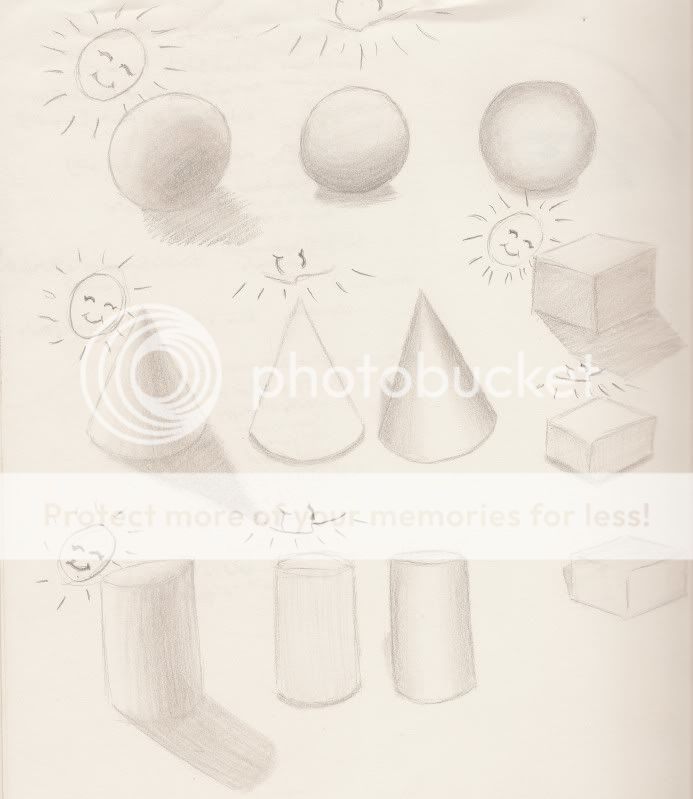
Back to this month's lessonForm.. What is a drawing without form?
It may seem difficult at first to get your drawing to actually look like something, but be patient and back up a bit. What we usually stumble over is the details, so forget about them for now! Let's just look at the basic shapes!
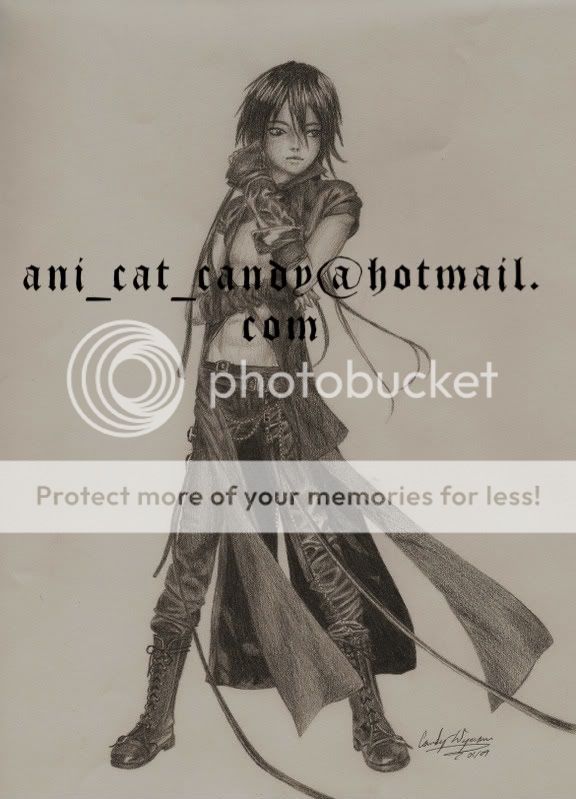
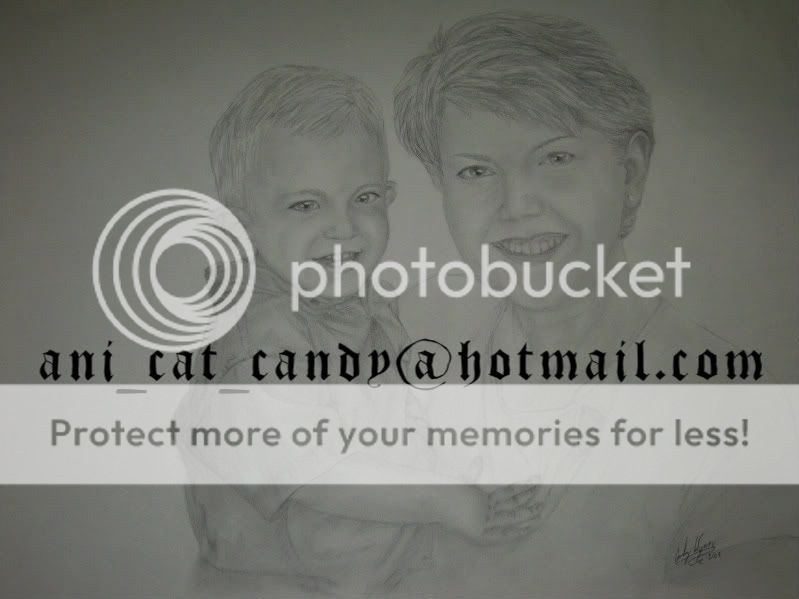
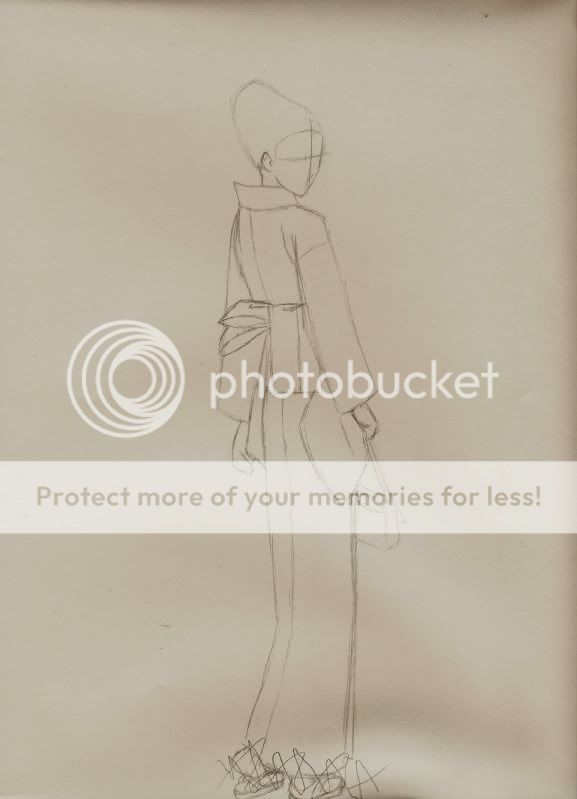
Here's a piece I'm working on where you can see the basic shapes used to make the ladies to the right, then how the detail is added to them one at a time:
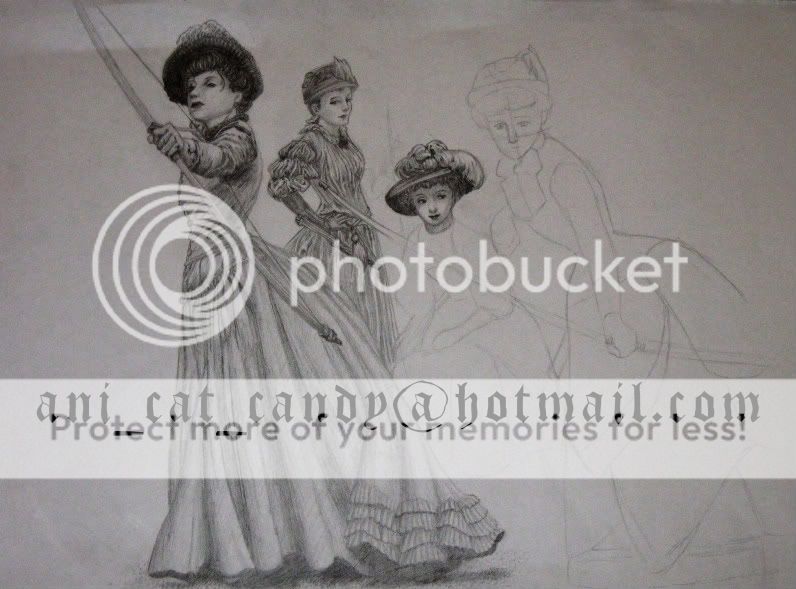
I like to start the detail work going from left to right on the page to keep from smudging the drawing.. You could always just use a piece of scrap paper to rest under your hand, but I just prefer to do it this way.. It's up to you.
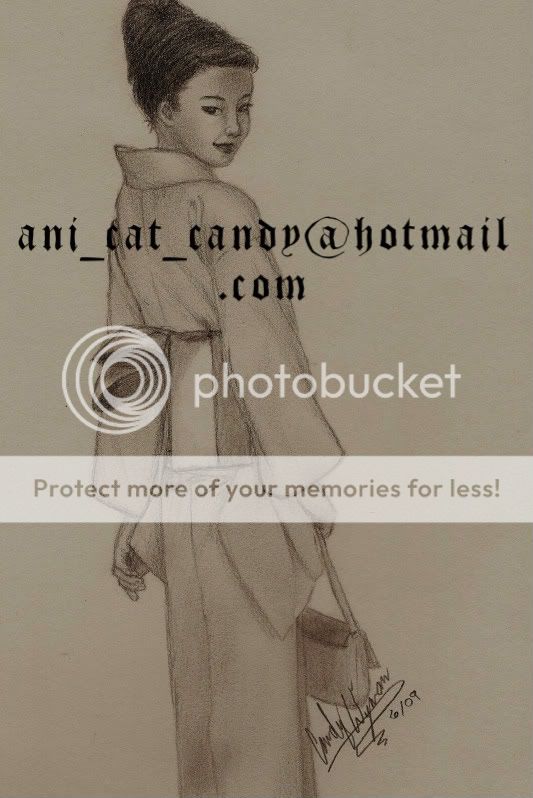
The lady furthest right is in her third stage (that is she's gone past being just a stick figure). I've already erased the lines from the first and second stages.. Sorry..
The reason the first step is so important is to get everything in porportion (especially if there's more than one person in the picture). Sometimes I cheat and go straight to stage 2, especially when I have a reference picture to look at or a model in front of me.
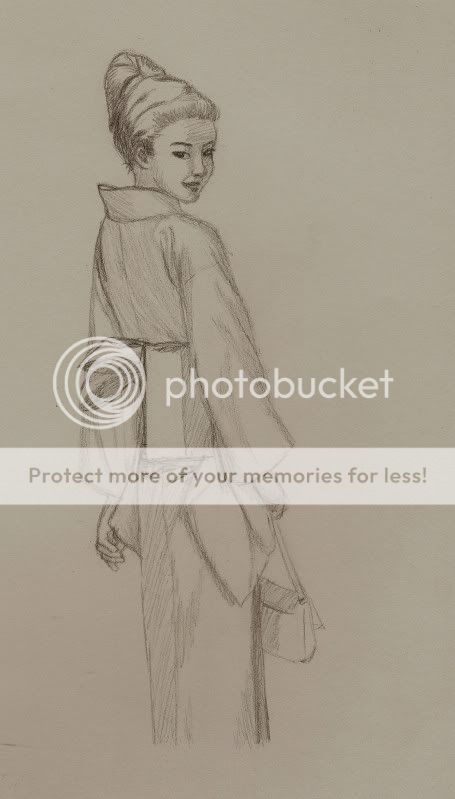
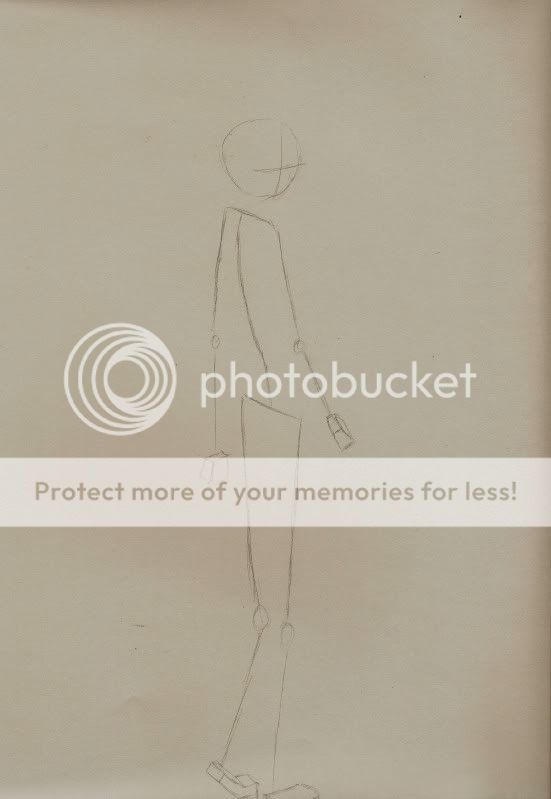
Stage 1 is the basic frame. A circle for the head with a cross-shape to show how the face is angled, and sticks to represent the frame or skeleton of the victum-erm- subject.. It helps get the length of things correct (arms. legs, and body) and to get the basic posture and pose of the character.
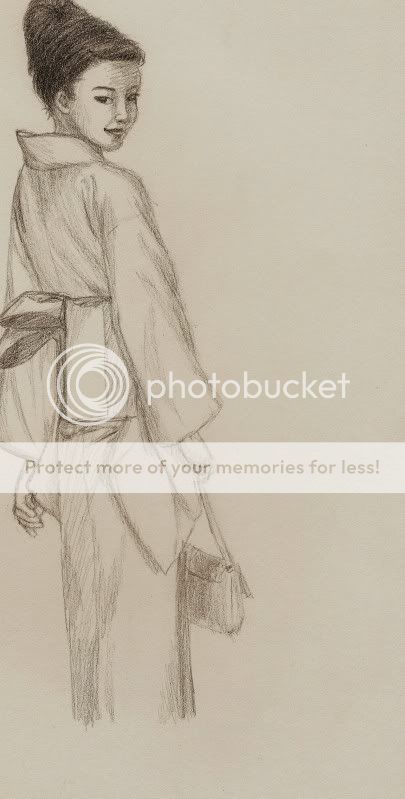
Stage 2 is creating the basic shapes.
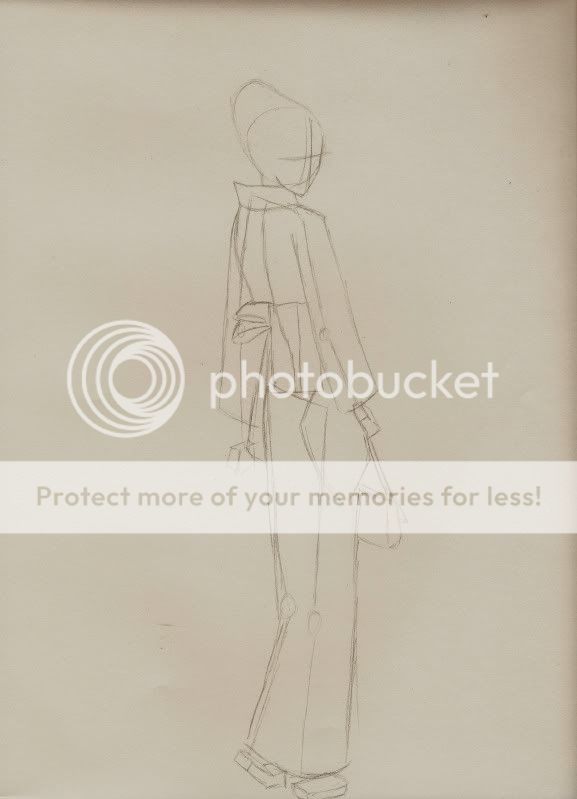
with stage 1 erased
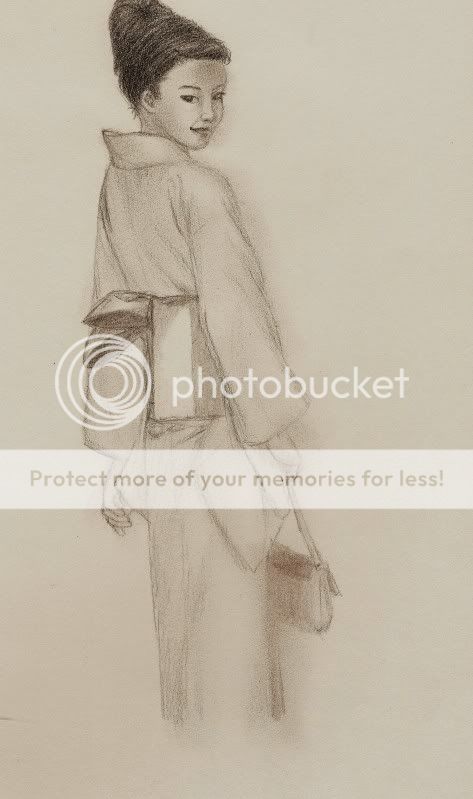
Stage 3 is adding in basic details like the face and main elements of the clothing.
note I erased her legs for 2 reasons; I think she looks better that way, and I suck at drawing feet.. and hands, but that one can't be avoided
sweatdrop 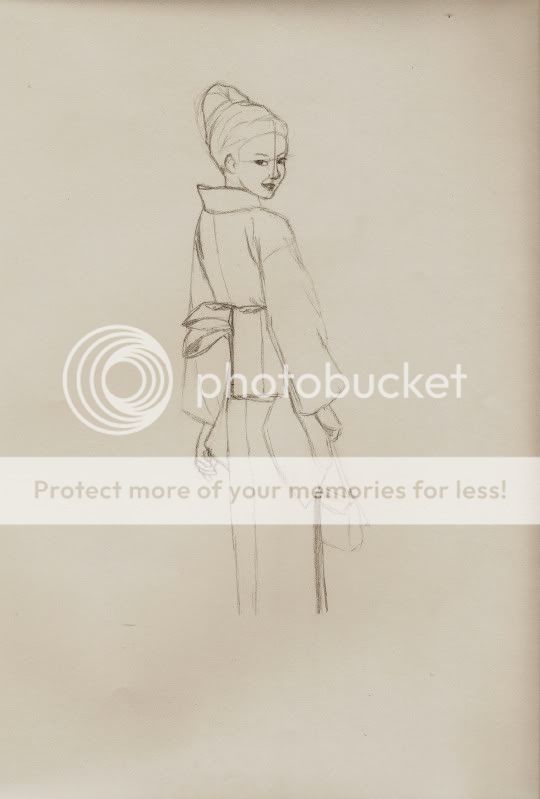 Next time
Texture