Lets add another instrument. We are going to load Edirol Orchestral, but if you right click on the channels, you'll see that it doesn't show at all. No need to panic. On of the other 3 channels we are not using, right click and go to Replace(also works with Insert) and click "More".
This window should pop up:
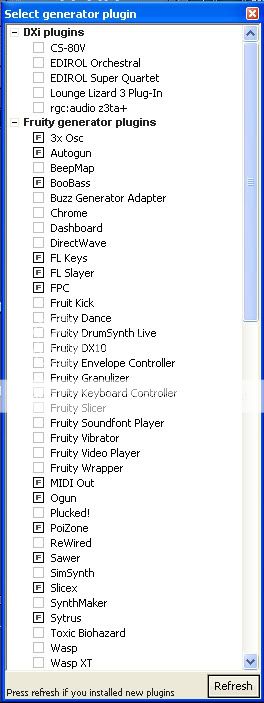
Of course, your window wont sport nearly as many things as mine does, i have a lot of VSTi's installed. anyway... DO NOT GO CLICKY-HAPPY HERE!!! If you go about clicking boxes to things you dont know what they are for, then you'll end up frustrating yourself when you do get a lot of external tools. You see three sections here titled
DXi Plugins,
Fruity Generated Plugins, and
VST Plugins.
Under DXi Plugins, NOTHING SHOULD BE CHECKED! Leave those alone(if any items are even there).
Under Fruity Generated Plugins is a list of defualt VSTs built into the program. The problem i have with this list is that the instrument VSTs are mixed in with a bunch of s*** you wont ever use, so here's what you'll do. Un-check everything under this list so that only these items remain:
.....FL Keys
.....FL Slayer
.....FPC
.....MIDI Out (this item is extremely important for this tutorial)
.....Slicex
.....Sytrus
Other Items under this list are up to you to keep if you plan to use them.
Click Refresh and choose the option that says "Fast". After a moment, your list will update with all new items shown in red lettering. Under VST Plugins, check the box for Orchestral so that a 'F' appears. Close the window, and now right-click on one of the other 3 channels and * Replace > Orchestral *.
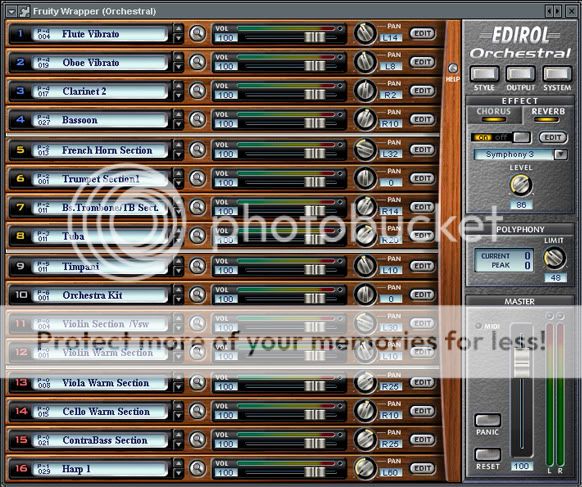
Before you go hey-wire with this thing, you should know a few things about it. Orchestral is one of those VSTi's that requires multiple outputs for effective usefulness, unlike most VSTi's which only requires 1. This means that we'll have to use a separate channels to use multiple sounds from this VST. If you've already begun smashing away at your keyboard, then you've probably figured by now that it only lets you play the top most channel on the VST. to use other instruments on Orchestral, you'll have to go to your Sequencer, and on another unused channel, you'll * Replace > MIDI Out *
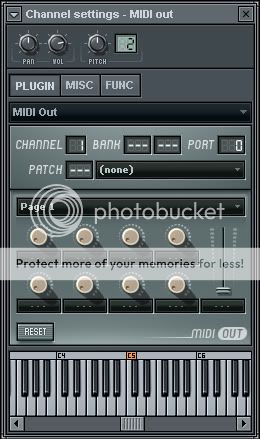
This is the device that allows communication between VSTs like Orchestral to the Mixer, but its not yet set to communicate with Orchestral. On the MIDI Out, you'll see the word "Channel" and a box next to it. Channel is always ranged between 1 and 16, and if you take a look at Orchestral, the numbers along the left side of the VST corresponds to the channel of that particular instrument. We want to use the Violin Section in 'Channel 11', so on the MIDI Out, drag the channel number from 1 to 11. Even if you start smashing keyboard buttons, no sounds will occur.
This is because Orchestral is not set to a port. Port numbers tell FL which channels correspond to which other channels... or something like that >.>''' (not really sure how to explain that). So to set a port number, go back to Orchestral, At the top left corner, click the button that looks like a gear.

On the window above, where it says "Input", drag the number to 10. This means that for any other channels using this VST, its port must be changed to 10. So on the MIDI Out, drag the port number to 10. Now you can start mashing keys.
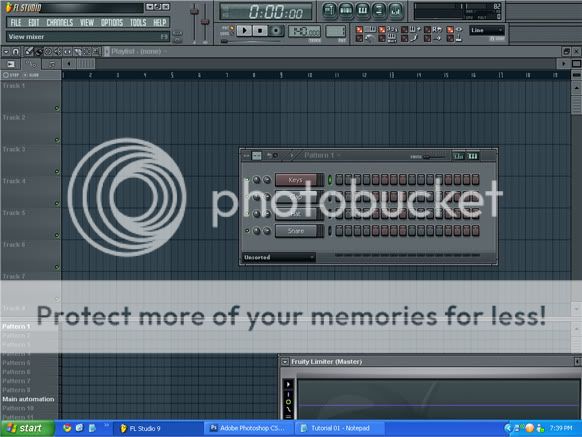
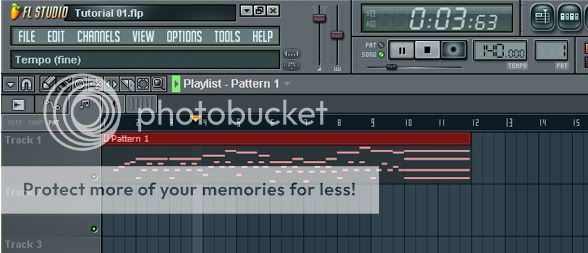
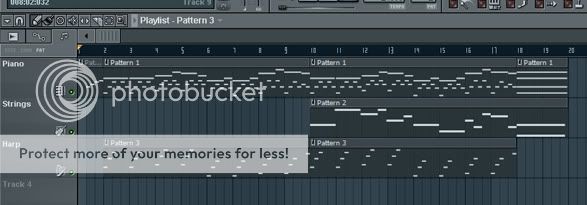
The thing about composing in this program is simply to use the method most comfortable to you. Most people use the bottom playlist and some use the top, or even both if preferred. You can also use the pattern alone to do this. But this tutorial and all others i will make, we shall use my method. Why? Because my method allows you to see every instrument, note, and automation while allowing us to keep everything nice and organized(also known as using only the top XD). This will also allow us to manipulate audio samples, automations, and patterns by slicing and rearranging them to what we need. On the Shortcut Panel, click the first button on the left which will open the Playlist.
Notice that this window is split into 2 sections, one containing tracks and the bottom containing patters. We will not be using the pattern section at all, so what we'll do is scroll down the pattern section till you see "Main Automation". if there is a grey square next to it, delete it by right-clicking on it(right clicking acts as a deletion tool for the Playlist, Piano Roll, and the Sequencer). Next, hold down the Shift key and click on the word Main Automation. Hit the delete button and then hit Enter. We want for the Pattern names to remain default. Click+hold the grey bar separating the 2 sections of the playlist and drag it all the way down till the patterns are no longer visible. This is something you'll want to do from now on when starting any project in FL Studio.

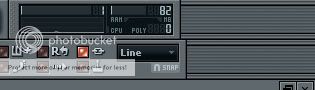
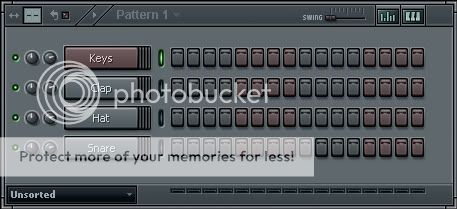
Look to the top of the screen at the Transport Panel.

It contains the options which are relevant for the speed/tempo of our project and which pattern is currently selected. Here's a short explanation of what it is/does:
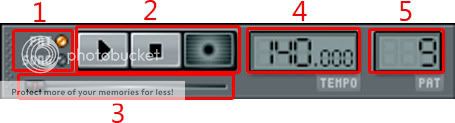 .....
.....1. Switch the play mode between Pattern and Song.
.....2. Enables Play/Pause, Stop, and Record.
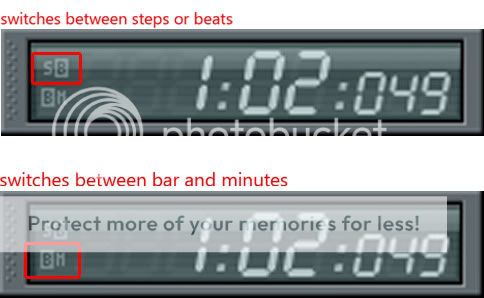
.....3. The Seeker, displays the scrolling position of the Pattern or Song(varies depending on what play mode you're in (Song or Pattern))
.....4. The exact tempo of the song OR tempo of the current position of the song or pattern(if automated).
.....5. Selects the current Pattern to be used/edited.
Drag the pattern to 1. On the playlist, select the draw tool and next to track 1, simply click so that pattern 1 is pasted there. Click and drag pattern 1 so that its on the far left. Click song on the Transporter so that song is selected(green light) and play it.
If you want, you can Shift+click and drag along the measure to select only a section of the playlist to play(also works in Piano Roll). Doing this will play everything within the specified measure on both the Piano Roll and the Playlist. You can deselect the selection by double clicking anywhere on the measure bar.
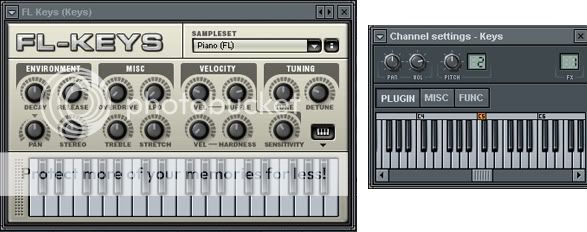
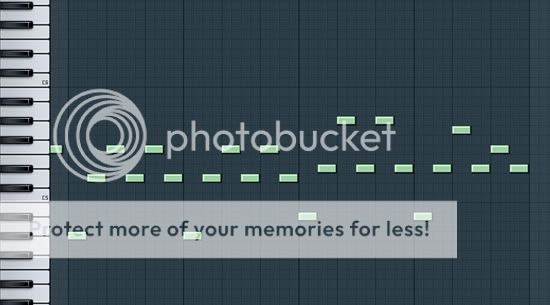
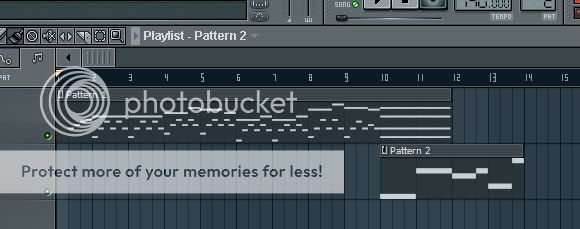
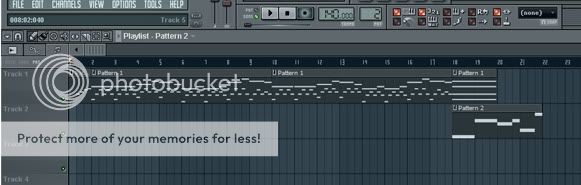
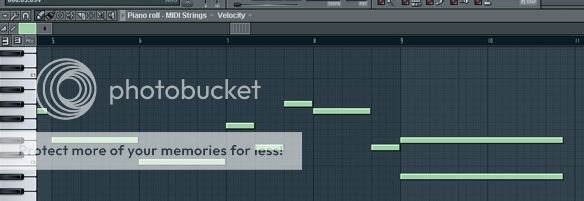
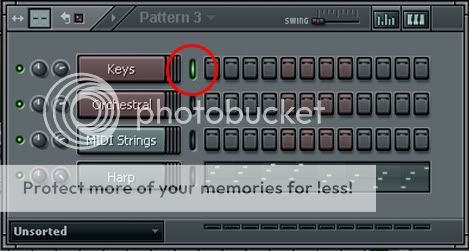
In my method of composing, every instrument gets its own track and pattern(s), so on Pattern 2 we're gonna add some strings from our MIDI Out. Before we do this, go to the Sequencer and add a MIDI Out, and Shift+click on the MIDI channel. Doing this allows you rename any channel you wish, and for organization purposes and our sanity), we'll do this for every channel we add. I'm renaming this channel to MIDI Strings(you can put whatever you want). Ok, so lets add some strings now to pattern 2. Before you start drawing in notes, at the top of the Piano Roll, click on the word "Keys" and scroll to Strings(in my case its MIDI Strings). Now put in your notes.
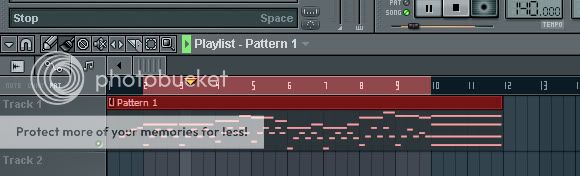
Go to the Playlist and put it at measure 10.
So far the song sounds fine, but i want the piano melody i have between 2 and 10 to also play along with the strings at 10. there are several ways to do this, but the easiest would be to grab the Slice Tool.
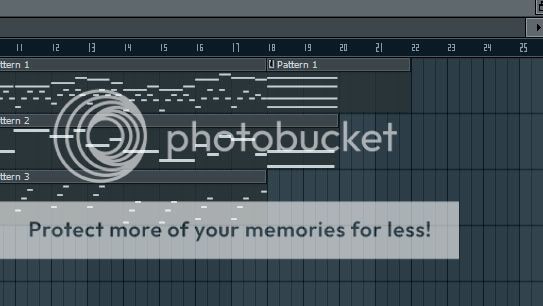
Starting from the top of the pattern bar starting around 2, click+drag the slice tool straight down to the bottom of that same pattern as if splitting the two(stopping at the bottom of the pattern you are trying to split will prevent other patterns beneath it from splitting as well), a blue line indicator will show as a visual aid. When you let go, the pattern will indeed be split, but it will still be pattern 1. Also slice pattern 1 at measure 10.
With the draw tool selected, Ctrl+click and drag over the remaining piece of pattern 1 and also pattern 2 to select them, then drag them to 18.
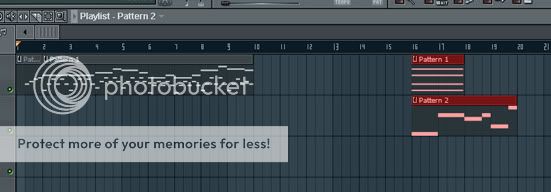
Click on the sliced pattern 1, which will make that section the default drawing, and click anywhere on the Playlist(preferably next to it). Then drag it so that its on measure 10.
I moved pattern 2 back to 10 as well, not really sure why i moved it in the first place..
@ _
@''
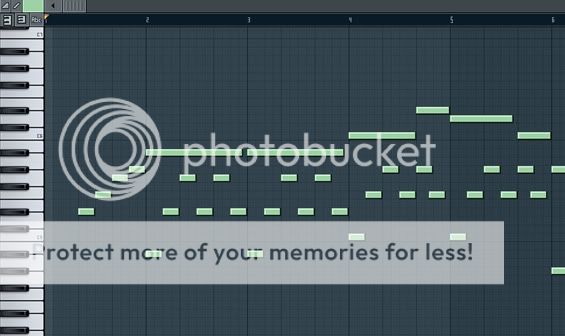
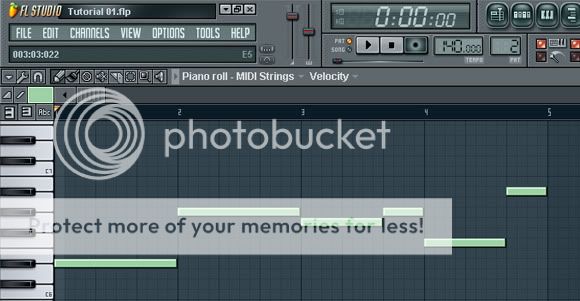
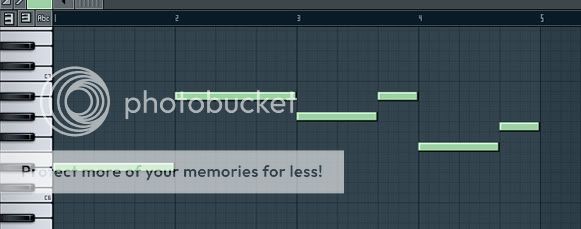
Play the song. The part where the violins play with the piano doesnt song just right, so on playlist, i'm going to select measures 10 through 18. Now i'm going to the Piano Roll on Pattern 2 so i can fix the melody. Here is the fixed melody:
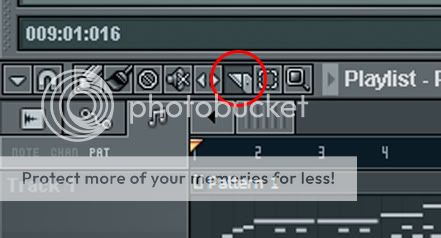
Now, if you notice while playing the song(you dont need to see the playlist to do that), the violins dont exactly match up tempo wise. So to fix this so that it sounds right, click on the button that looks like a magnit. A Menu will show with "Line" selected, instead select '1/2 Step'.
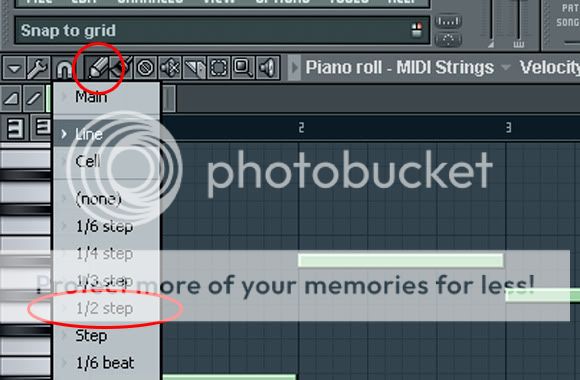
This allows you to resize your notes to smaller sizes than usual. We arent going to resize any notes at the moment, what we are going to do is move a few of the notes half a square(or 1/2 a 16th note) to the left.
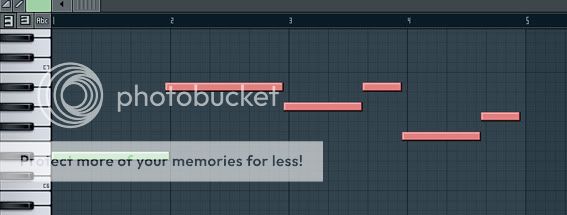
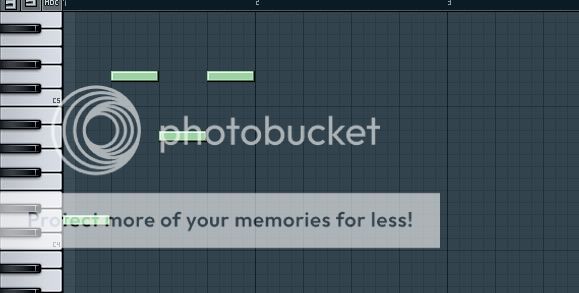
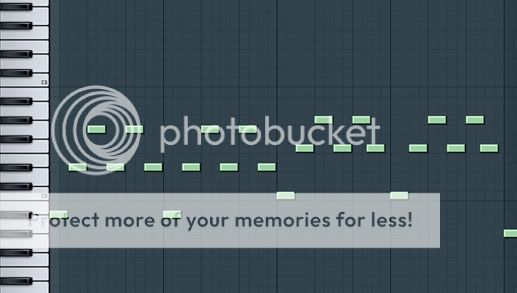
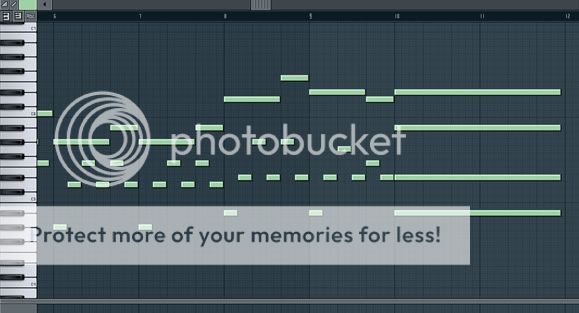
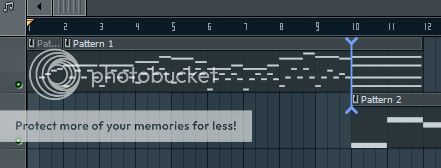
From here i'll extend the Strings melody. This shows measures 5 through 10.
Lets add another instrument, maybe Harp. Create another MIDI Out, set the channel for 16 and the Port number to 10. This sound is a bit low, so on the Orchestral, raise the volume of channel 16 all the way to the right. Also, on the MIDI Out Channel for Harp(what we are using now), at the top you'll see 2 knobs with one of them sporting VOL beneath it. Turn it fully to high. Now lets add a melody on pattern 3.
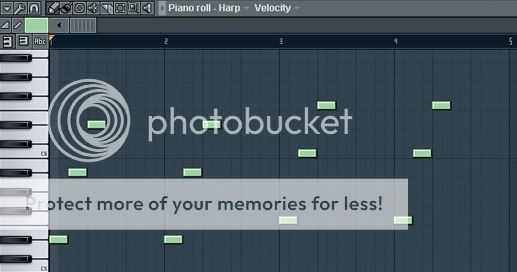
Measures 1 - 4
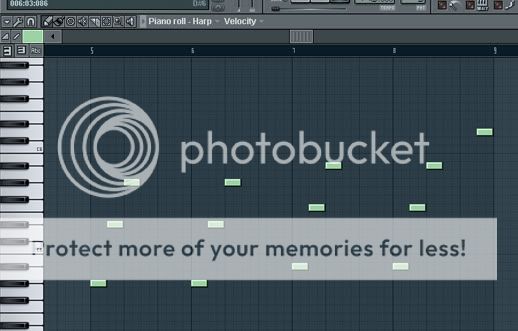
Measures 5 - 8
Now place this on measures 2 and 10. Also its a good idea to rename the tracks on the playlist so that they correspond to the instruments being used. Do this by Shift+clicking on the track and typing a new name. Also, you can add an icon to each individual track by right+click and choosing "Set Icon".
There is a certain step we should have done earlier. On the Shortcut Panel, click the very last button on the right which will bring up the Mixer.
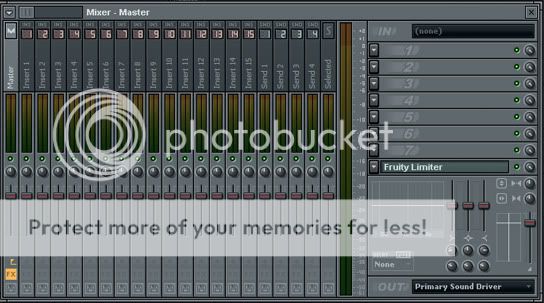
This is where you will load all your channels and add VST effects(if necessary). We'll add only the FL Keys and Orchestral. We wont be adding the MIDI Out channels because they dont read in the Mixer(though it lets you add them regardless). On the Sequencer, click the slit next to the channel, which selects it.
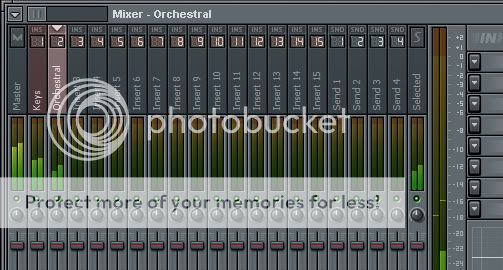
On the Mixer, right+click on "Insert 1" and * Link Selected Channels > To this Track *. Now select Orchestral and repeat the process for "Insert 2". Now play the song or a pattern and study the Mixer.
Raise the volume on the Orchestral just a bit while the song plays, raise it till the meters are almost leveled. Back on the playist, take the end of pattern 1 and drag/extend it to measure 22.
This way, when we render this to MP3, the song wont abruptly cut off, but first, set the play mode to Song. To render to MP3, go to * File > Export > MP3 file * or you can Ctrl+Shift+R. Choose the save location and name your file.
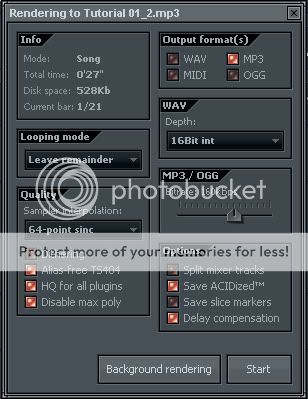
When this window appears, simply hit the Start or Background Render.
End Result of this tutorial...
(CLICK HERE)Completed FL File... (Click Here)And that's it! Your first completed song in FL Studio 9!
biggrin Please donate to me for my effort in putting this tutorial together.
3nodding