


This is just a quick guide for the concept of the puzzle and an explanation, not a guide for the puzzle, since it is different for everyone.
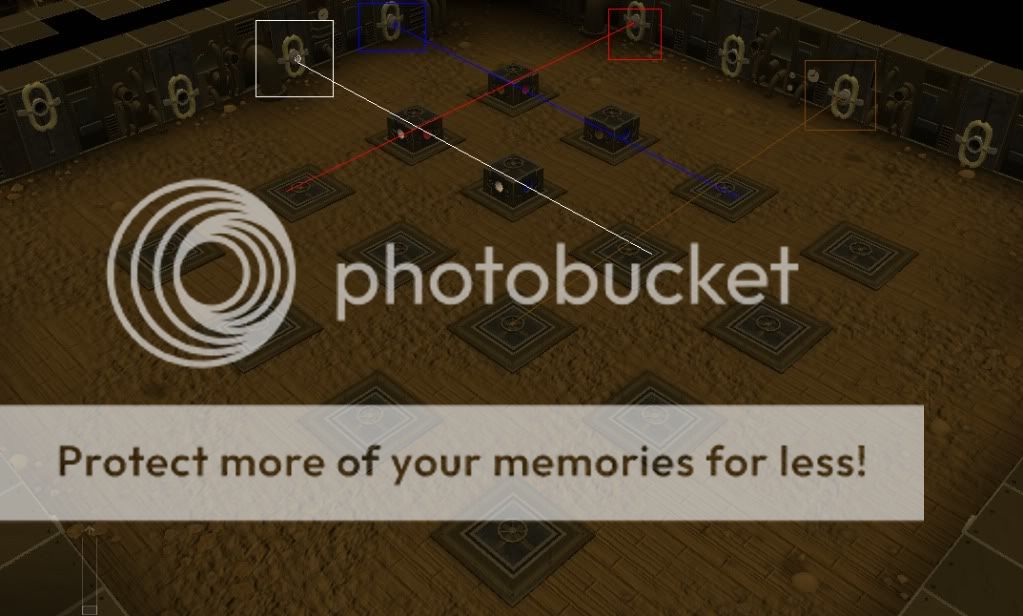
In this image you can see that the emitters on the wall hold runes to be used for the puzzle (colored squares). The runes in this picture were the ones that were already there, so be sure to take a few (5 or so) of each element down with you. The goal of this puzzle is to get the towers lined up so that the emissions go through the respective colored holes, and I have drawn colored lines through the blocks to show where the emissions travel. The solution to my puzzle is shown in the next picture.
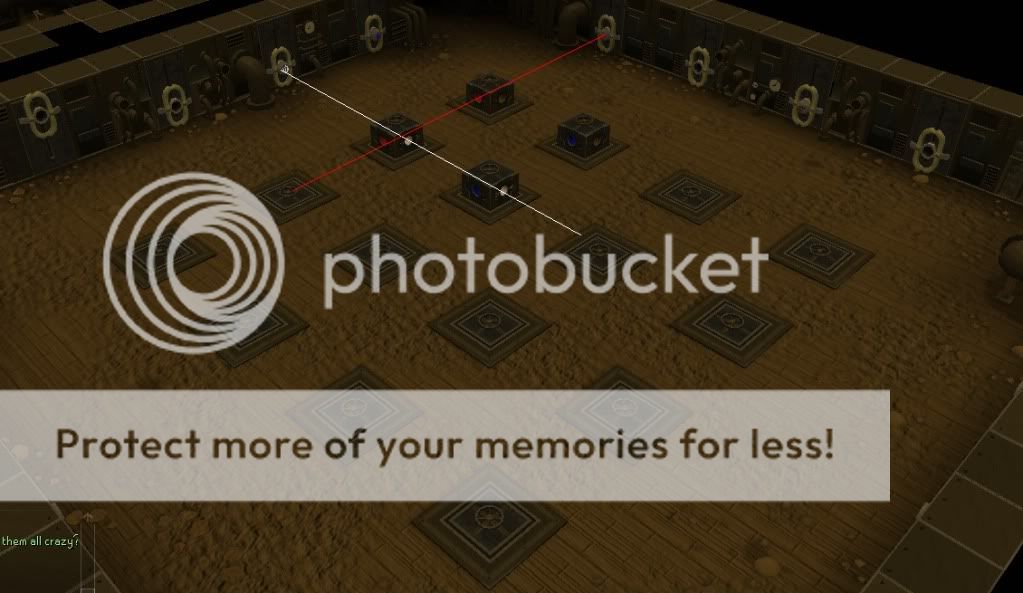
In this picture, I have replaced the runes correctly and rotated the towers using the control panel to be lined up correctly with the each other so the emissions will go through. The air emittor will shoot through the white holes, the fire through red, and so on.
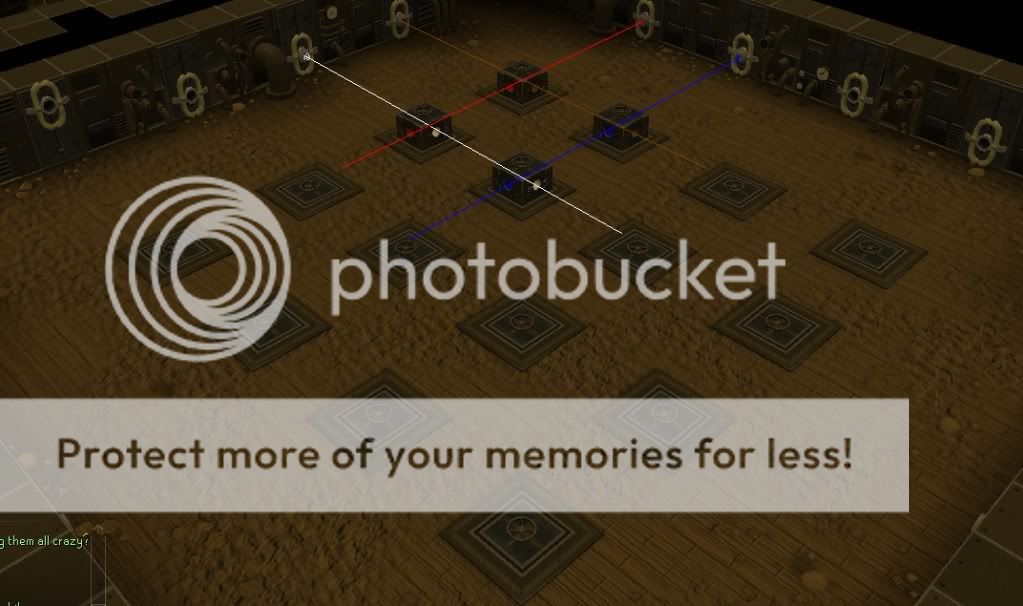
In this screenshot, I have lined up all of the towers and emittors, so when I power up the machine, the next stage of the puzzle will be unlocked.
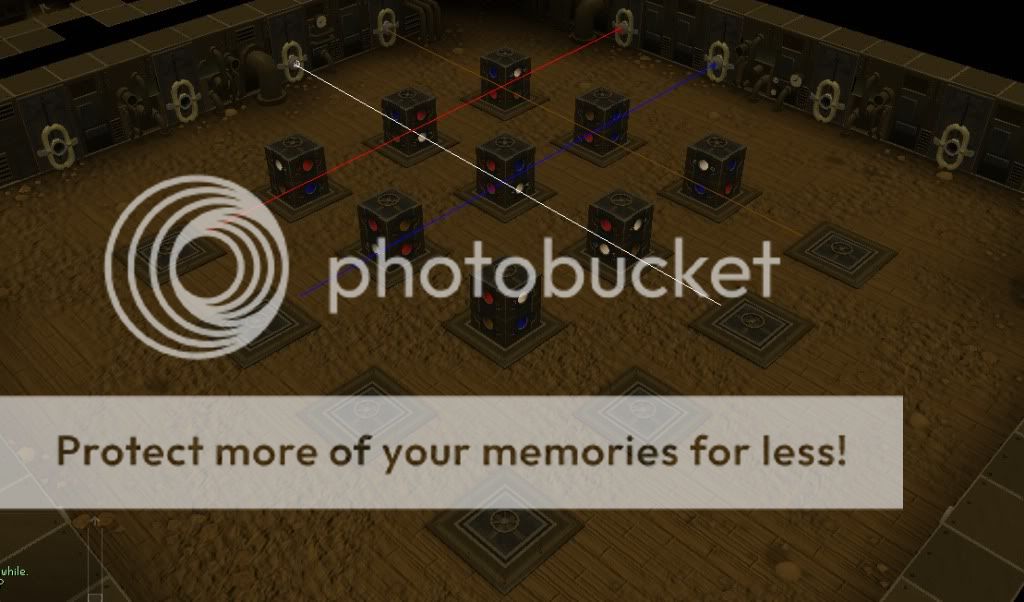
After you power up the machine for the first time, the puzzle gets a bit more complex by adding another layer and 5 more towers. The emittors can now be moved up and down. The best way to do this puzzle now is to line up the columns going one direction the best you can, and then adjusting the emittors to work properly. You also must sure that 2 emissions go through EACH block, not that each block has an emission going through. Therefore, you will need 4, 9, and 16 emittors lined up for each puzzle.
That's all, I know it sounds complex and I make it tougher than it is, but I hope this helps!